General Settings
Configure your organization's email domains, SAML SSO, and API keys in Iden.
General Settings is where you configure how your organization authenticates with Iden, how email domains are managed, and how external tools connect to Iden. This page walks you through each section.
To open Settings, click Settings in the left sidebar.
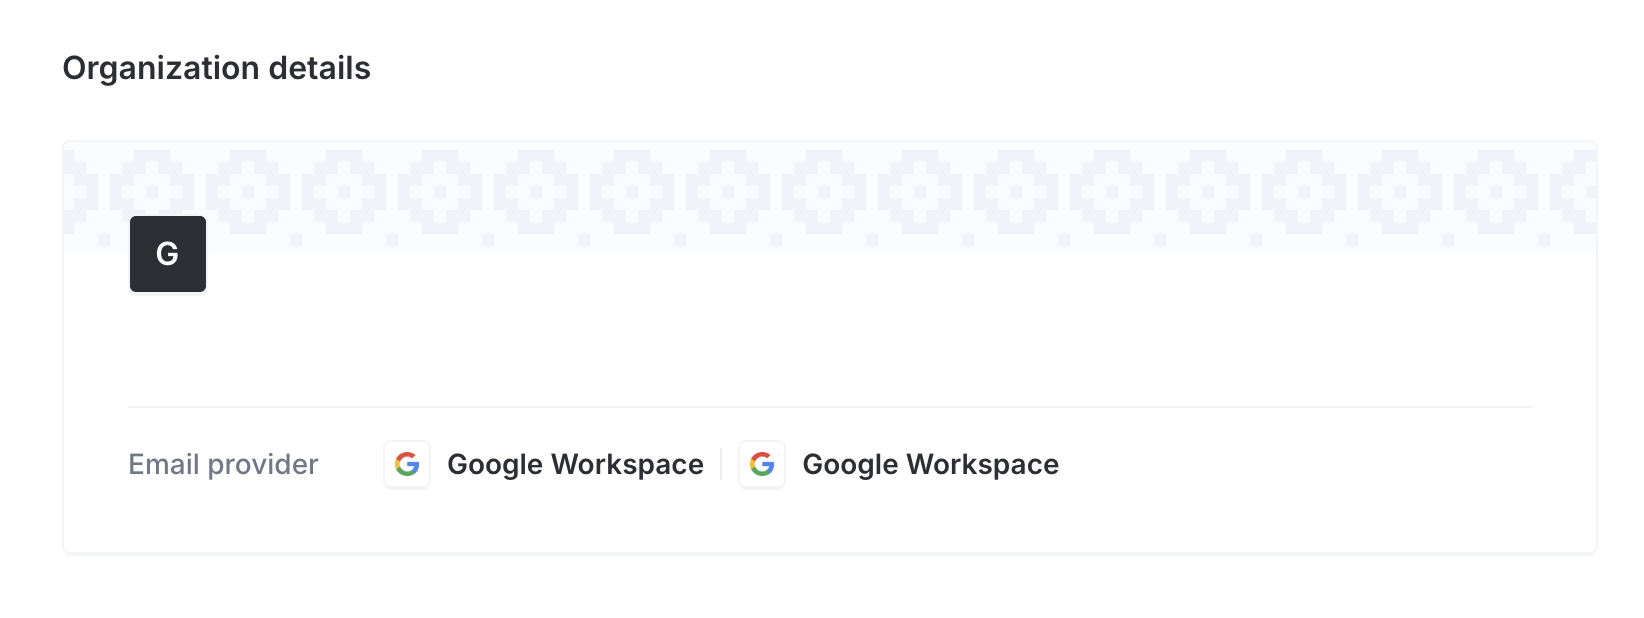
Organization details
The top of the Settings page shows your organization name and the connected email providers (for example, Google Workspace or Microsoft 365). This information comes from your connected identity provider and cannot be edited here.
The screen below shows the organization details section:
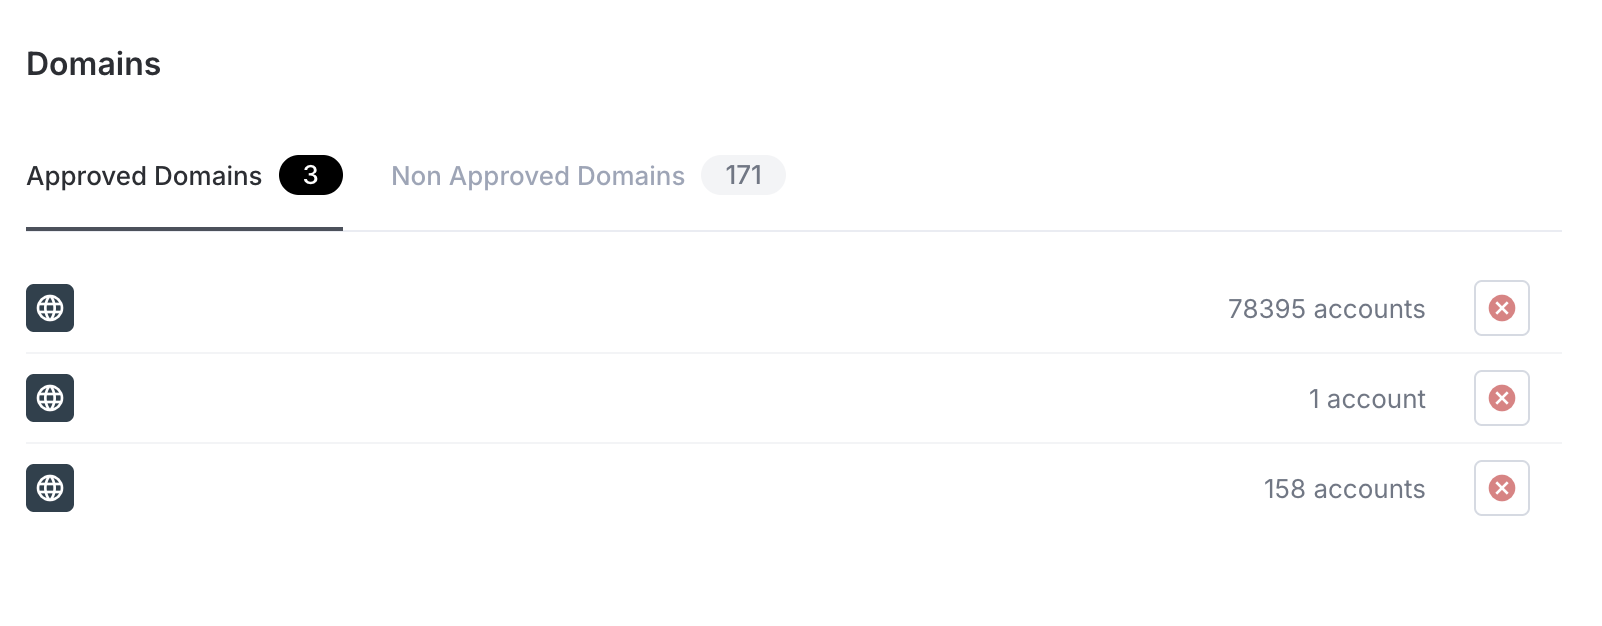
Email domains
The Domains section shows all email domains associated with your organization's users. Domains are discovered automatically as users sign in. Iden detects which email domains they use and lists them here - you do not need to add them manually.
The screen below shows the Domains section with Approved and Non-Approved tabs:
Approved vs non-approved domains
| Tab | What it shows |
|---|---|
| Approved | Domains trusted by your organization - users with these email domains are treated as internal employees |
| Non-Approved | Domains discovered but not yet reviewed - users are treated as external until you approve the domain |
Why this matters
Approved domains are used for two things:
- Auto-linking - When Iden syncs a user from a connected app, it tries to match them to an employee by email domain. Users with approved domains are matched as internal employees. Others are flagged as external.
- Domain approvals - You can set up automatic ticket approval rules for users in specific approved domains.
Approving or rejecting a domain
- To approve a domain in the Non-Approved tab: click the checkmark icon on the domain row.
- To reject a domain from the Approved tab: click the X icon on the domain row.
Domains appear automatically as users with new domains access the platform. You cannot add them manually.
SAML Single Sign-On
SAML SSO (Single Sign-On) lets your team sign in to Iden using your existing company login - such as Okta or Google Workspace - instead of a separate username and password. SAML (Security Assertion Markup Language) is an industry-standard way for one system to tell another "this user is verified."
Only Super Admins can configure SAML.
Step 1: Add Iden's details to your identity provider
Before configuring anything in Iden, you need to register Iden as a trusted application (called a Service Provider, or SP) in your identity provider (IdP) - the system your company uses to manage logins, such as Okta or Azure AD.
Iden gives you three values to copy into your identity provider:
| Field | What it is |
|---|---|
| SP Entity ID / Audience URI | Iden's unique identifier as a trusted application |
| Assertion Consumer Service (ACS) URL | The web address your identity provider sends users to after they log in |
| SP Metadata URL | A single web address that most identity providers can use to set everything up automatically |
These values are shown at the top of the SAML Authentication section. Copy each one using the clipboard icon next to it.
The screen below shows where to find these values:
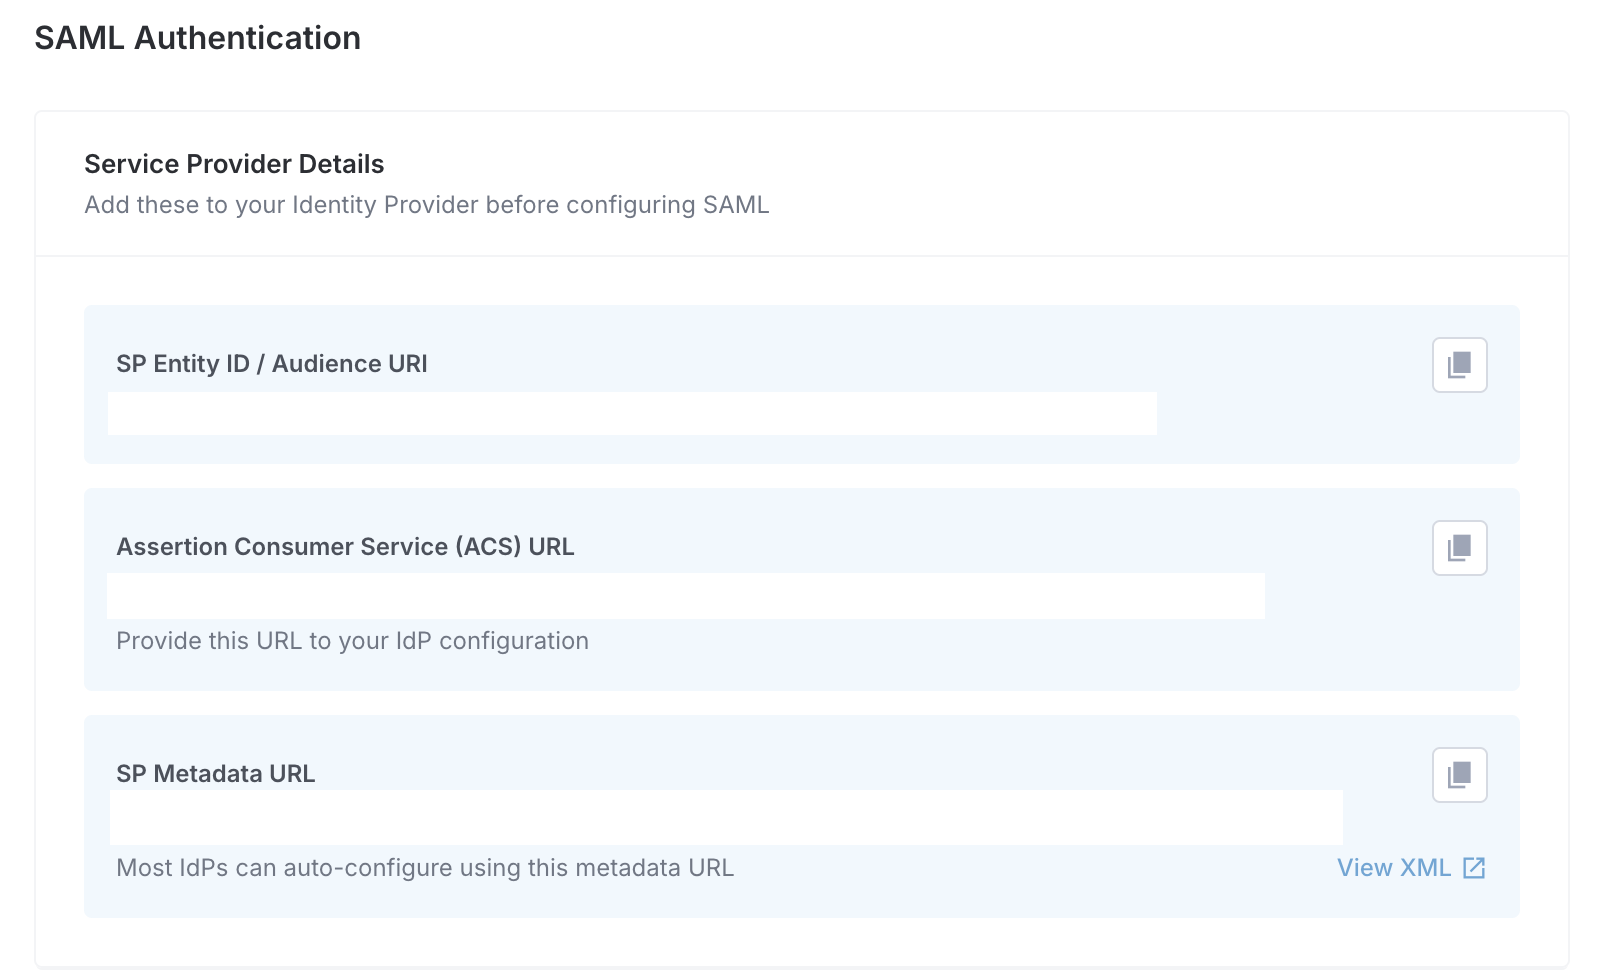
If your identity provider supports metadata import (most modern providers do - including Okta, Google Workspace, and Azure AD): paste the SP Metadata URL into your identity provider. It will fill in the rest automatically.
If your identity provider requires manual setup: copy the SP Entity ID and ACS URL separately into the appropriate fields in your identity provider's app configuration.
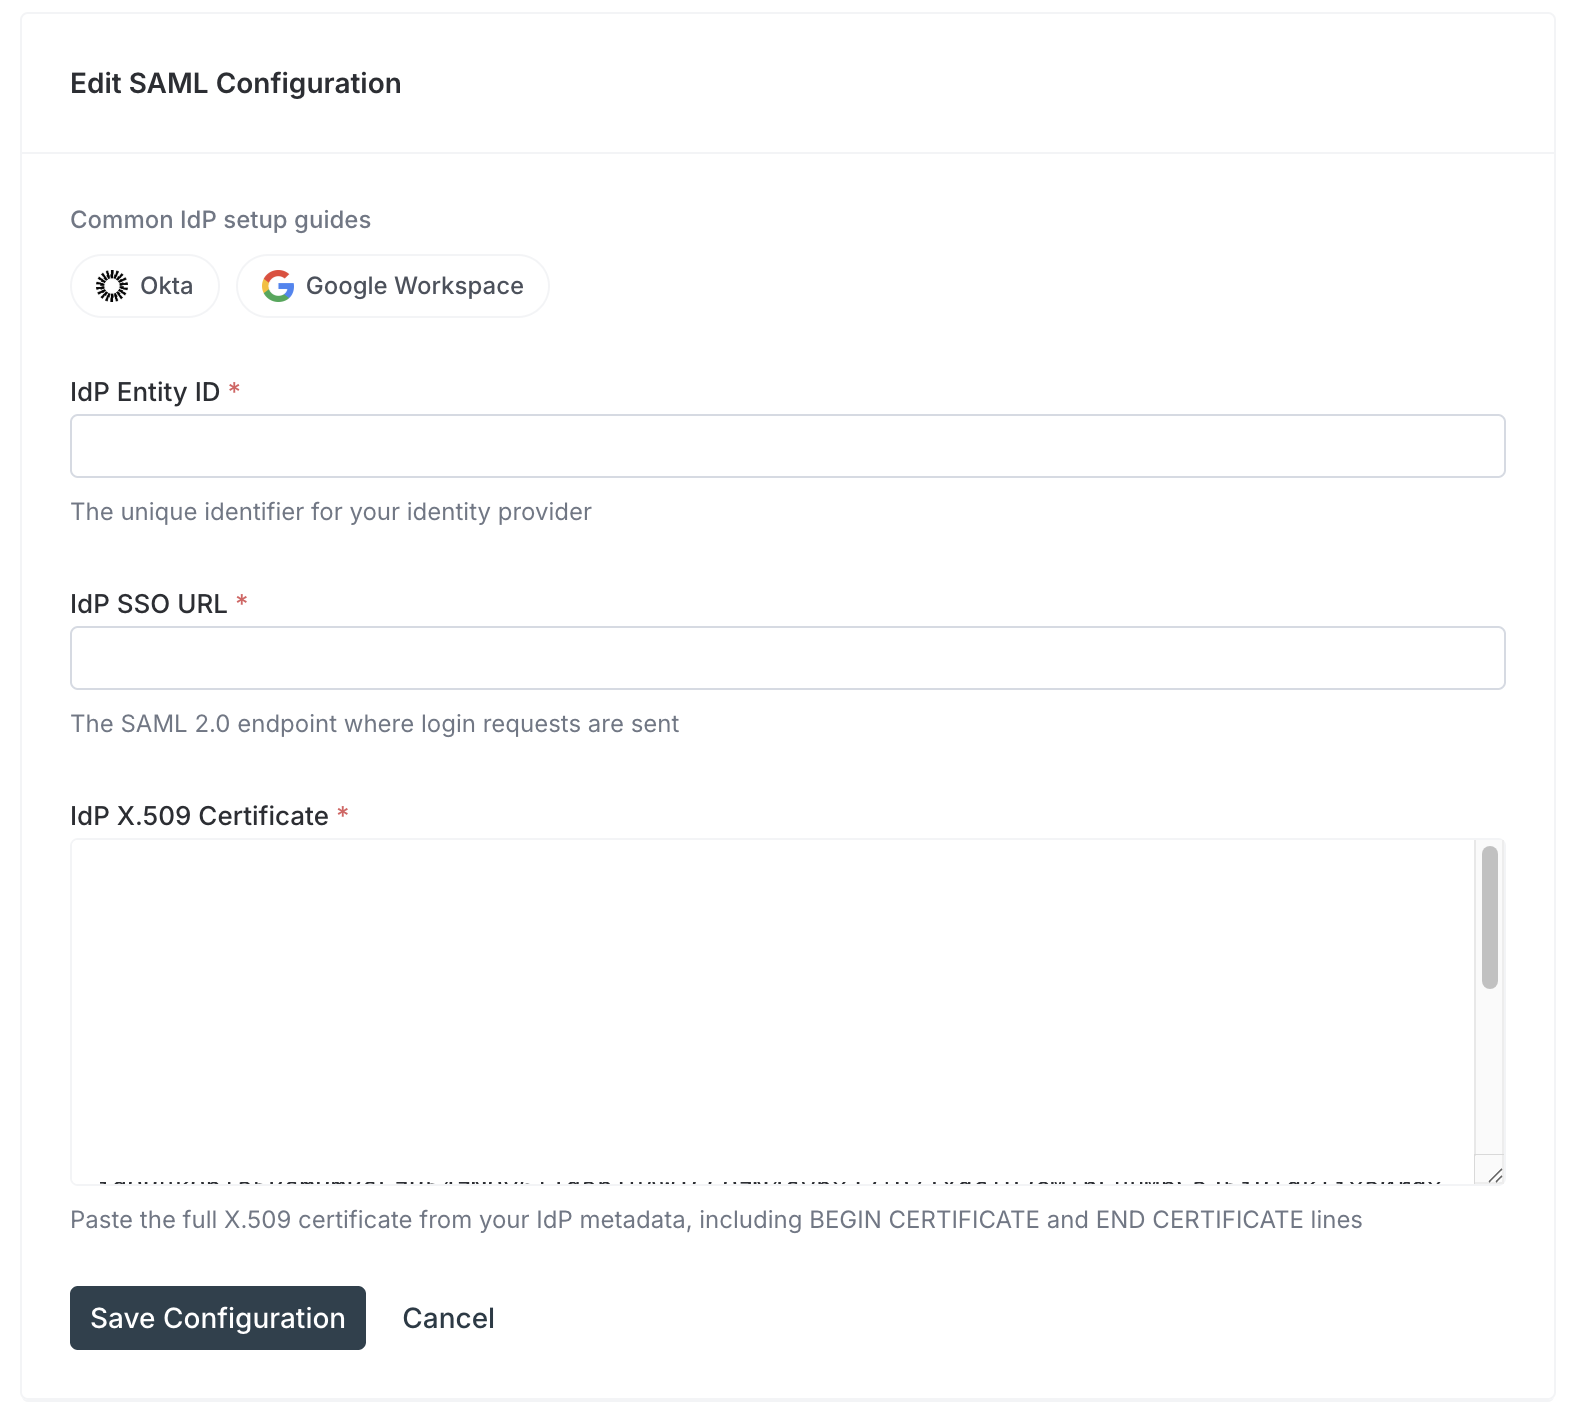
Step 2: Configure Iden with your identity provider's details
Once your identity provider is set up, click Configure SAML in Iden. Fill in the three required fields:
| Field | What to enter |
|---|---|
| IdP Entity ID | The unique identifier for your identity provider (found in your identity provider's SAML settings) |
| IdP SSO URL | The login address your identity provider provides (starts with https://) |
| IdP X.509 Certificate | The security certificate from your identity provider - paste the full text including the -----BEGIN CERTIFICATE----- and -----END CERTIFICATE----- lines |
Click Save Configuration. The configuration is saved but not enabled yet.
The screen below shows the SAML configuration form:
Step 3: Enable SAML
After saving, you will see your SAML configuration in a read-only view with an Enable toggle.
Before enabling, verify your identity provider is fully configured with Iden's details. If the identity provider is not correctly set up, users will be unable to log in.
Toggle Enable to activate SSO. Your team can now sign in through your identity provider.
Editing or deleting your SAML configuration
- Edit: Click Edit Configuration to update any of the three identity provider fields.
- Delete: Click Delete to remove the SAML configuration entirely. Users will no longer be able to sign in via SSO and must use their original login method.
API keys
API keys are secure access codes that allow external tools and scripts to read your organization's data through the Iden API. This is useful for reporting integrations, automated data exports, and compliance tools.
Only Super Admins can create and manage API keys.
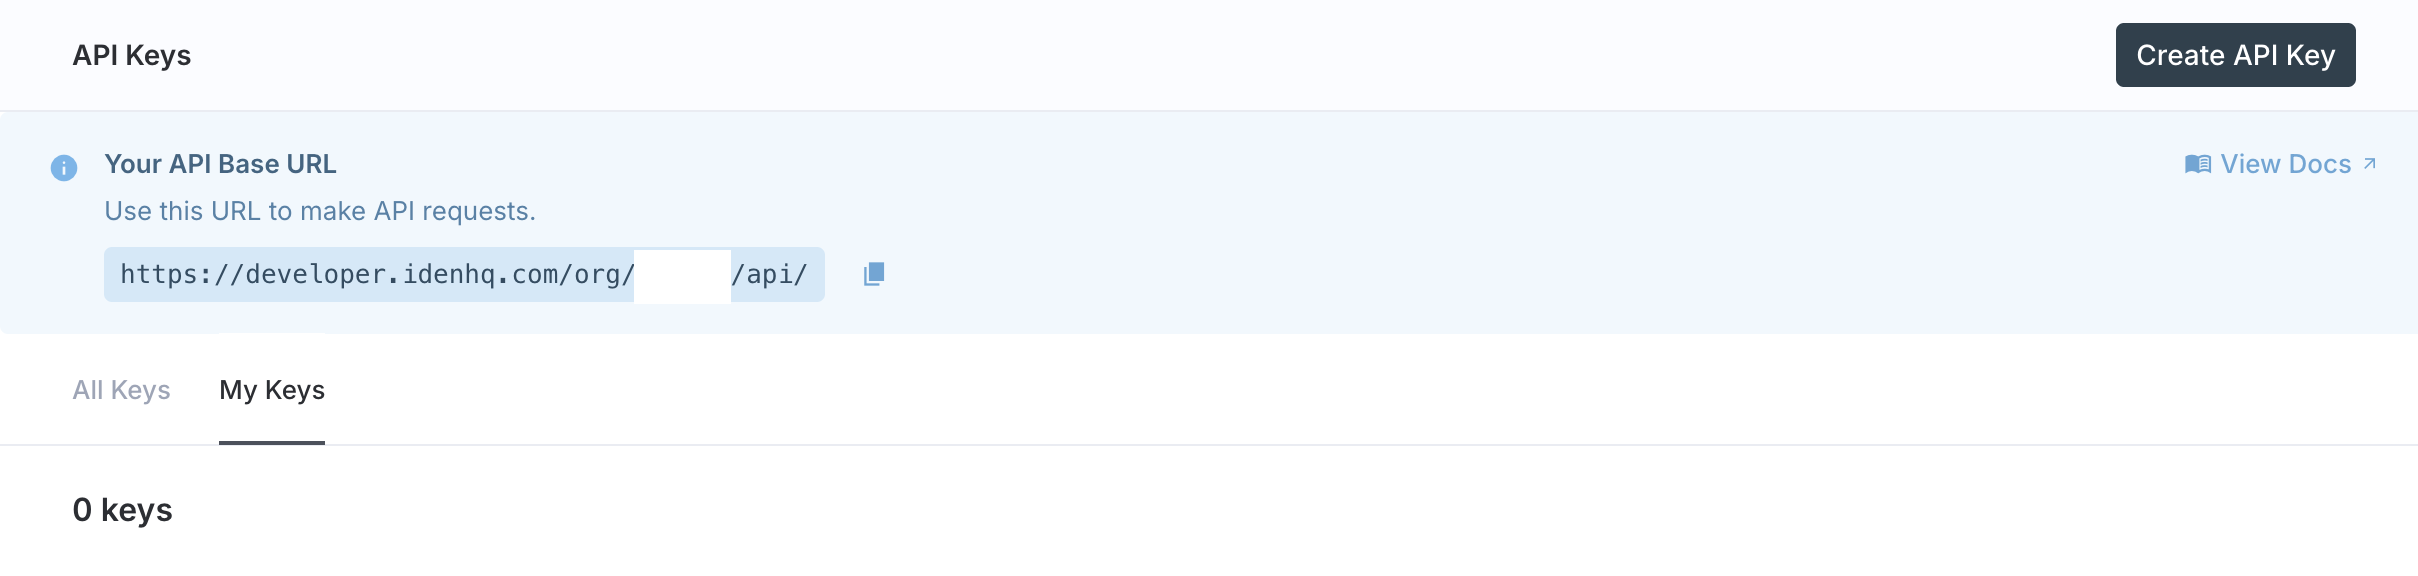
Your API base URL
At the top of the API Keys page, Iden shows your organization's API base URL (the web address external tools use to connect to your data):
https://developer.idenhq.com/org/{your-org-slug}/api/Copy this URL - you will need it for every API request. Your organization's unique identifier (called the org slug) is embedded in the URL automatically.
The screen below shows the API Keys page with the base URL and keys table:
Creating an API key
Click Create API Key. A window opens with three fields:
| Field | What to enter |
|---|---|
| Key name | A descriptive name so you remember what this key is for - for example, Data Sync Script or Compliance Tool |
| Expires in | Choose 7 days, 30 days, 90 days, or Never |
| Create for user | Optionally create the key on behalf of another team member (Super Admin only) |
Click Generate key.
Copy your key immediately. After closing this window, the full key is never shown again - only a short prefix is stored. If you lose it, you will need to create a new one.
Managing existing keys
The API Keys page has two tabs:
| Tab | Shows |
|---|---|
| My Keys | Keys you have personally created |
| All Keys | Every API key in the organization, including who created each one (Super Admin only) |
Each row shows the key name, a masked prefix, when it was created, and when it expires. To delete a key, click the trash icon on its row. Deletion is immediate and permanent - any tool using that key will lose access right away.
Key expiry
Keys with an expiry date automatically stop working after that date. If a key is powering a long-running integration, use Never for the expiry and rotate it manually on a schedule you control.