Connecting Your First App
Step-by-step guide to connecting an application to Iden for the first time.
This guide walks you through connecting an application to Iden for the first time. Once connected, Iden will automatically sync (copy and keep up to date) the users and their permissions from that app. You will then be able to run access reviews and manage who has access - all from one place.
You need the Super Admin or Workspaces Admin role to connect apps.
Step 1: Open the connection flow
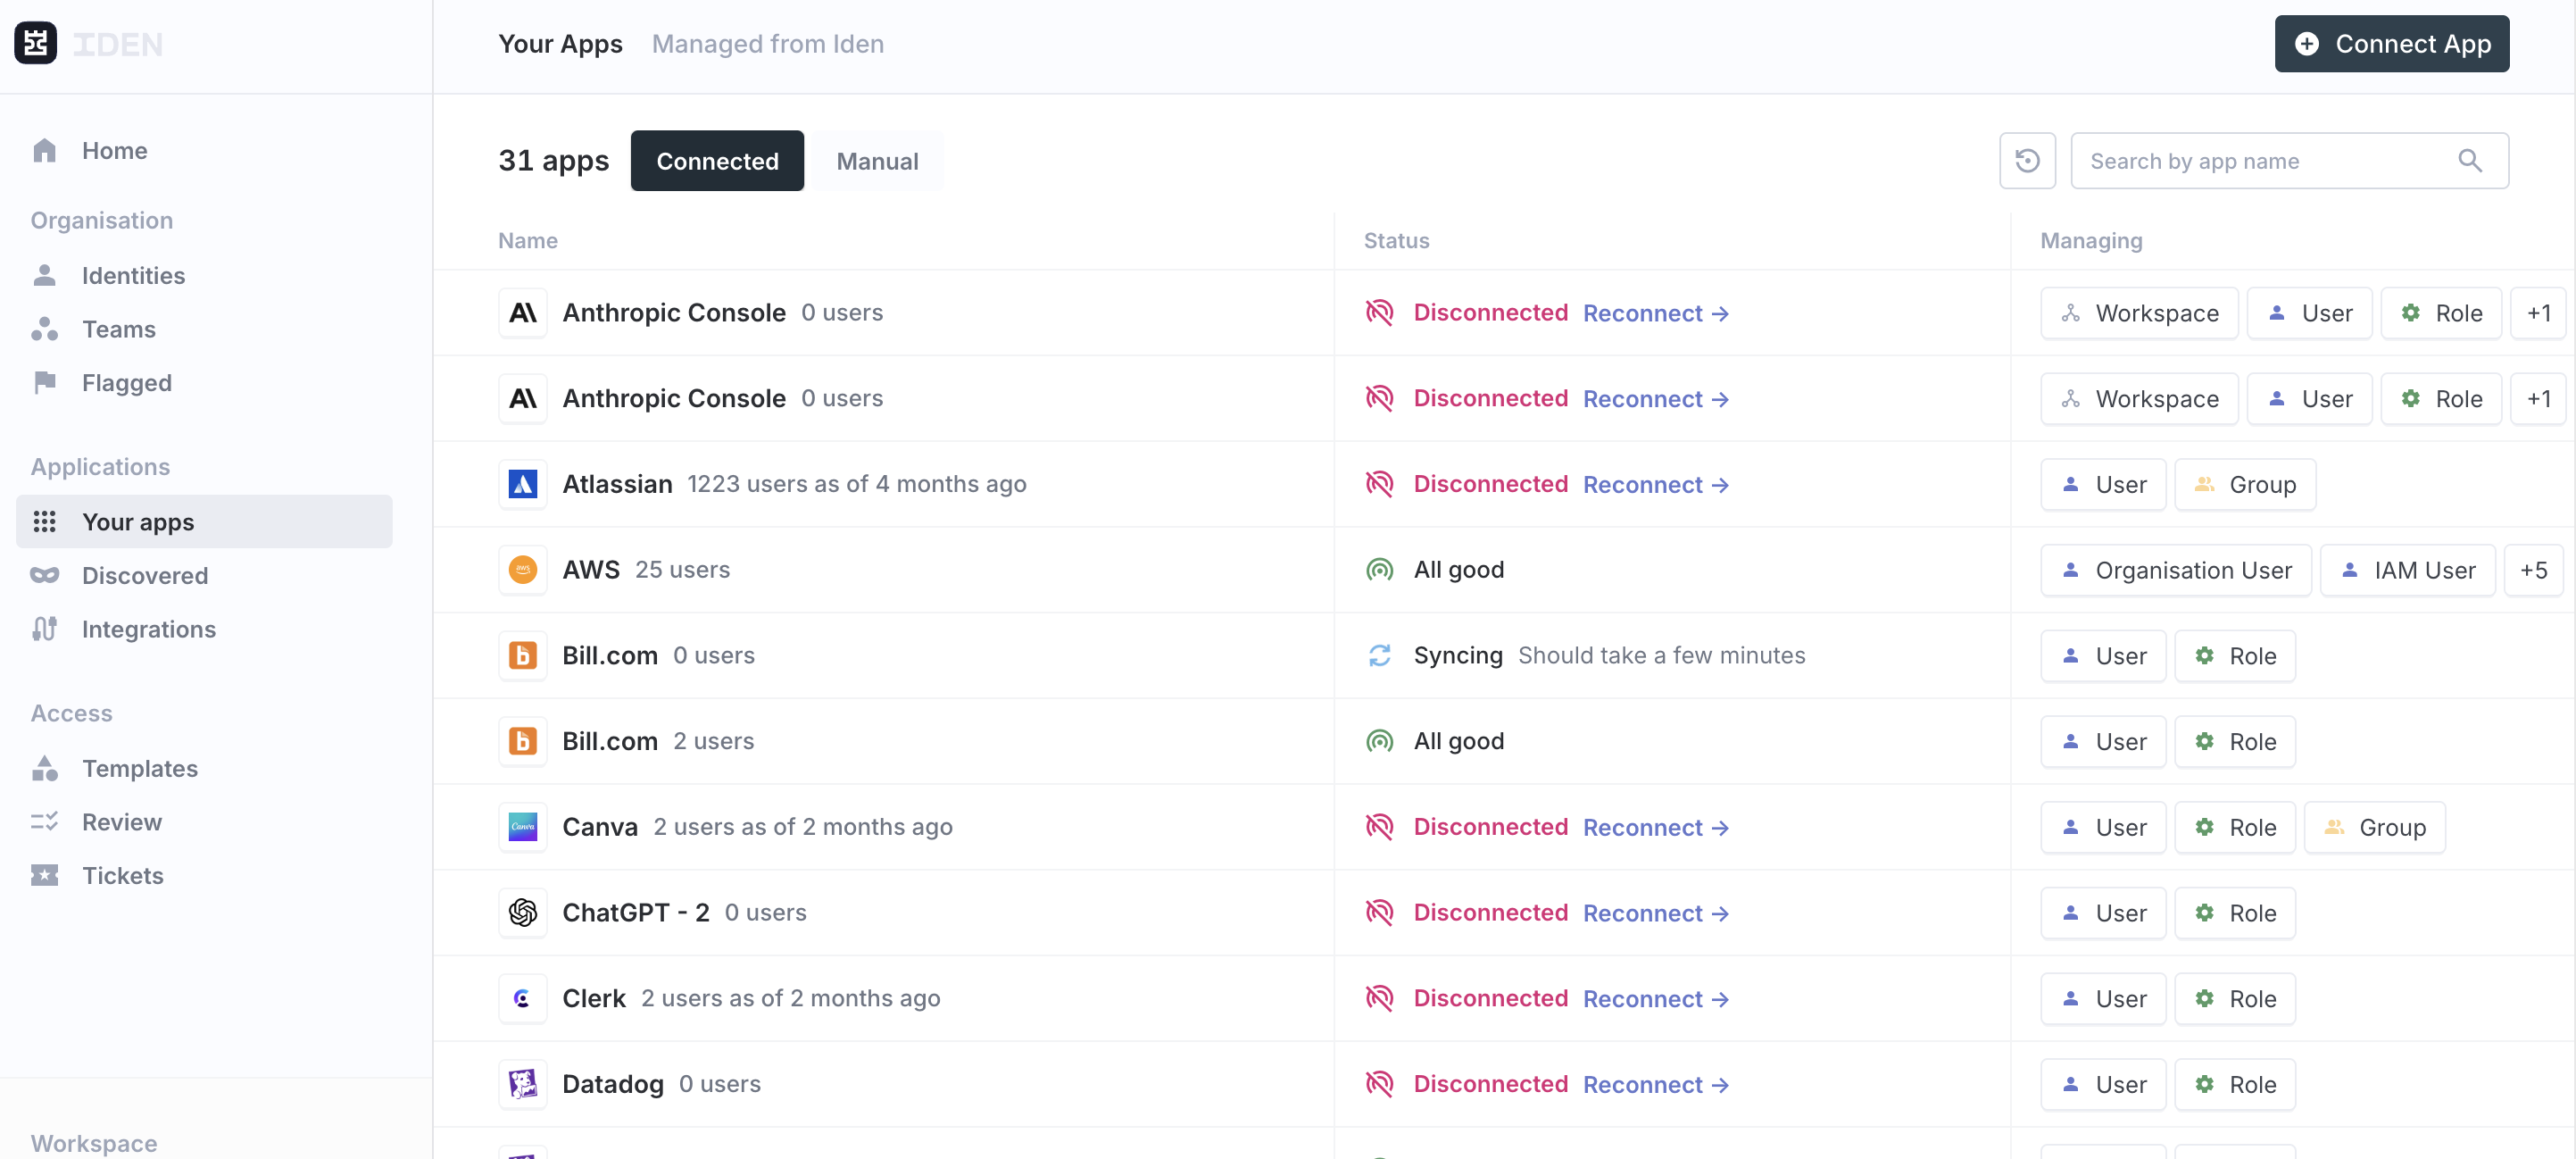
In the left sidebar, navigate to Connected Apps. Then click Connect App in the top right corner of the page.
The screen below shows what you will see:
Step 2: Select the app
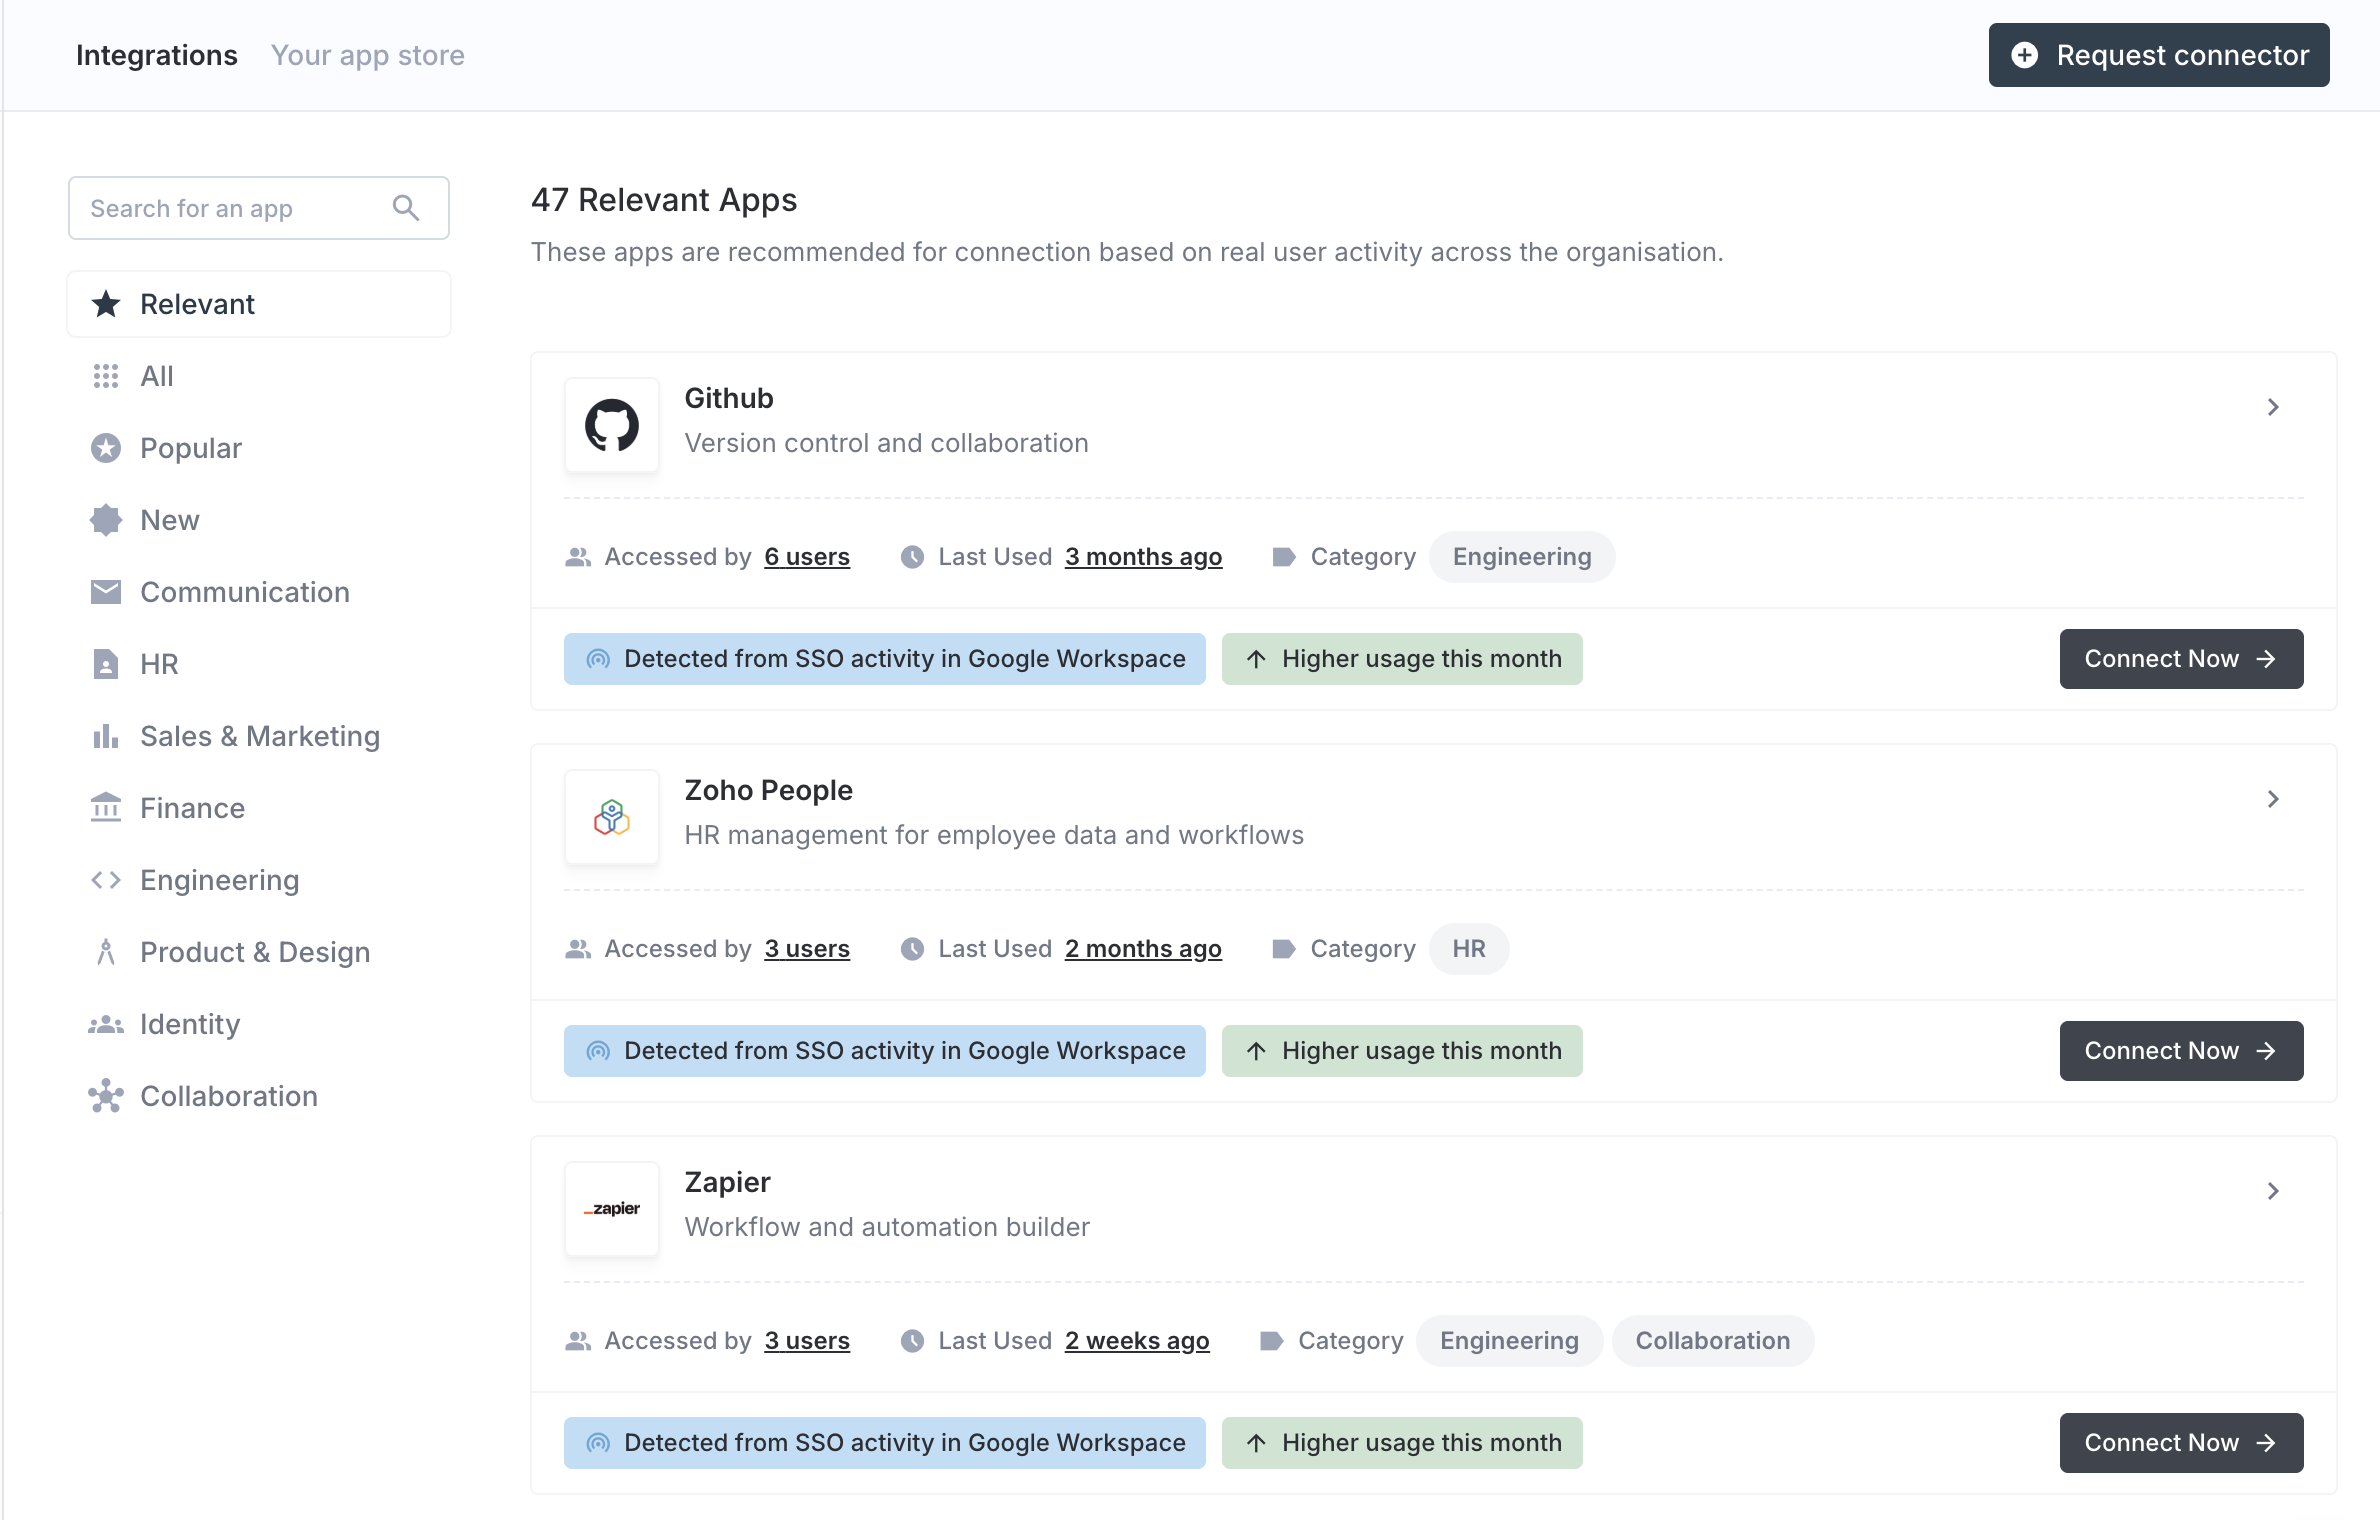
Browse or search for the app you want to connect. For example, you might choose Slack, GitHub, Google Workspace, or Salesforce. Click the app to begin.
Your screen should look like this:
Step 3: Set a display name
Give this connection a display name. This is the label you will see in your Connected Apps list.
If you plan to connect more than one account of the same app (for example, two separate GitHub organizations), use a descriptive name so you can tell them apart easily.
Example:
GitHub - EngineeringandGitHub - Marketing
Click Continue to move to the next step.
Step 4: Complete the connection
How you finish this step depends on which type of connection the app uses. The three types are explained below.
OAuth apps
Examples: Slack, GitHub, Google Workspace, Salesforce, Microsoft, HubSpot, Zoom, GitLab, Asana, and 30+ more.
OAuth (a secure sign-in handshake) is the most common method. Iden will redirect you to the app's own login page, where you authorize the connection using your admin account. Your password is never stored by Iden.
Follow these steps:
- Review the security information shown on screen.
- Click Continue to [App].
- Sign in with your admin account on the app's login page.
- Approve the permissions that appear.
- You will be redirected back to Iden automatically.
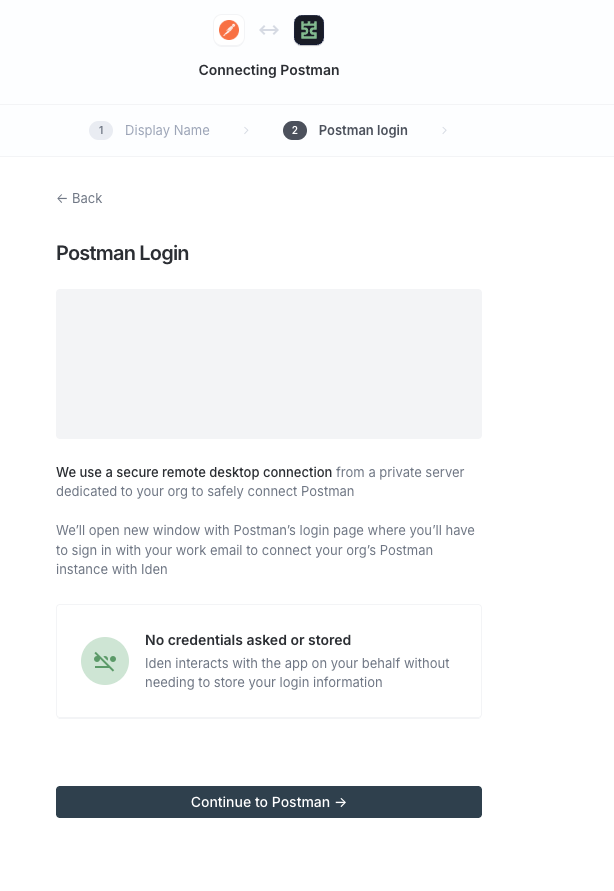
The screen below shows what the OAuth connection page looks like:

Warp apps (browser-based)
Examples: Any web-based app that does not have a public API or OAuth option.
Warp opens a secure browser session so Iden can connect to the app on your behalf. You do not need to share your credentials with Iden. Iden simply interacts with the app's website directly.
You will first choose a mode:
| Mode | How it works |
|---|---|
| Cloud | Iden uses a private server dedicated to your organization. Works from any device and stays online at all times. |
| On Device | Uses your own computer. Syncing pauses when your device is offline. |
Click Continue to [App], then sign in with your work account in the browser window that opens. Iden will detect the connection automatically.
Your screen should look like this:
API / SCIM apps
Examples: LDAP (a directory service for managing user accounts), and apps that support SCIM (a standard method for automatically syncing user accounts).
You will be asked to enter credentials such as an API key (a special password for software-to-software connections) or an endpoint URL (the web address Iden uses to connect). Fill in each field and click Save details. If you are unsure where to find a value, click "Need help finding [field]?" for step-by-step guidance.
Step 5: Wait for verification
Iden checks that the connection works. This usually takes less than a minute. You will see a "Verifying connection" spinner while it runs.
Step 6: Confirm
Once the connection is verified, you will see:
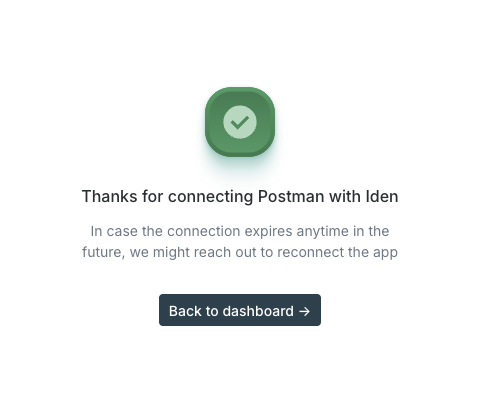
"Thanks for connecting [App] with Iden"
Click Back to dashboard. Your app will now appear in Connected Apps with an Active status. Congratulations - you are connected!
The screen below shows the success confirmation:
What happens next
After the first sync completes, you can:
- View all users and their access on the app's detail page
- Configure app settings - including approval workflows, offboarding actions, and alerts
- Run access reviews to check who still needs access
- Set access policies to control who can request access
If the connection ever expires, a red Reconnect button will appear on the app's row. Click it and follow the same steps above to restore the sync.